# Lighting in Unity
GameObject > Light에 있는 광원 중에 Area Light 말곤 real time
Light에 Shadow Type으로 그림자 설정
Directional Light
* 하늘에 있는 태양이랑 transform 연동됨
* 두 개 만들고 Intensity 조절하면 그림자 두 개 만들 수 있음
Rendering > Lighting > Environment > Sun Source를 지정하면 첫 번째 만들어진 Directional Light가 아니여도 태양 위치 조절
머테리얼 만들고 Shader를 Skybox > Procedural로 바꾸고 Skybox Material에 삽입
* Sun Size Convergence : 태양 모습이 얼마나 산란 일어나는지
* Atmosphere Thickness : 대기가 얼마나 있는지 조절하여 하늘색 조절
Lighting > Environment > Environment Lighting, Environment Reflections 끄면 환경광 다 끌 수 있음
Environment Lighting > Source에서 환경광 종류 바꿀수도
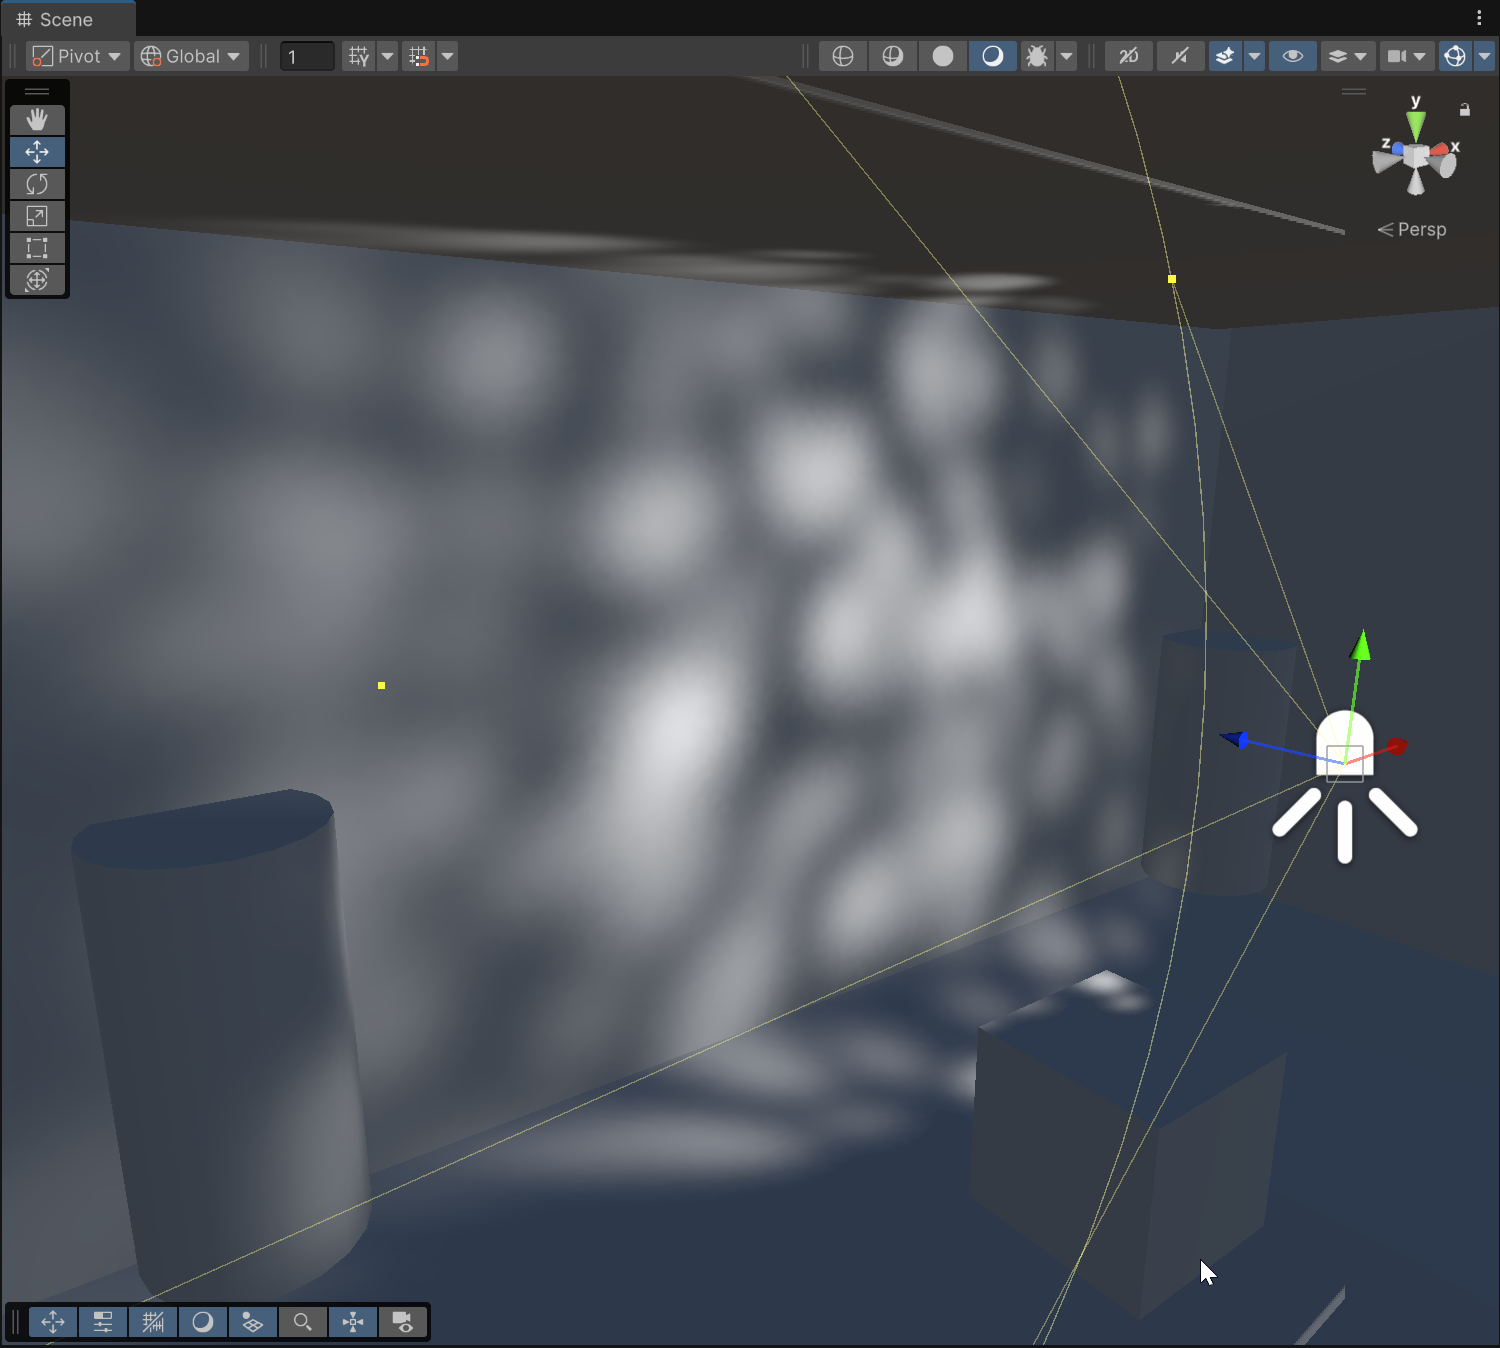
point light는 중심에서 가장 밝고 외곽으로 갈 수록 영향을 못 미침
색은 그냥 섞이는게 아니라 강도도 더해짐
게임 오브젝트 지금 보고 있는 곳으로 가져오기 : GameObject > Align with view (Ctrl + Shift + F)
씬 뷰 좌측 상단 Global을 Local로 바꾸면 해당 오브젝트이 rotation한 대로 축이 변경됨
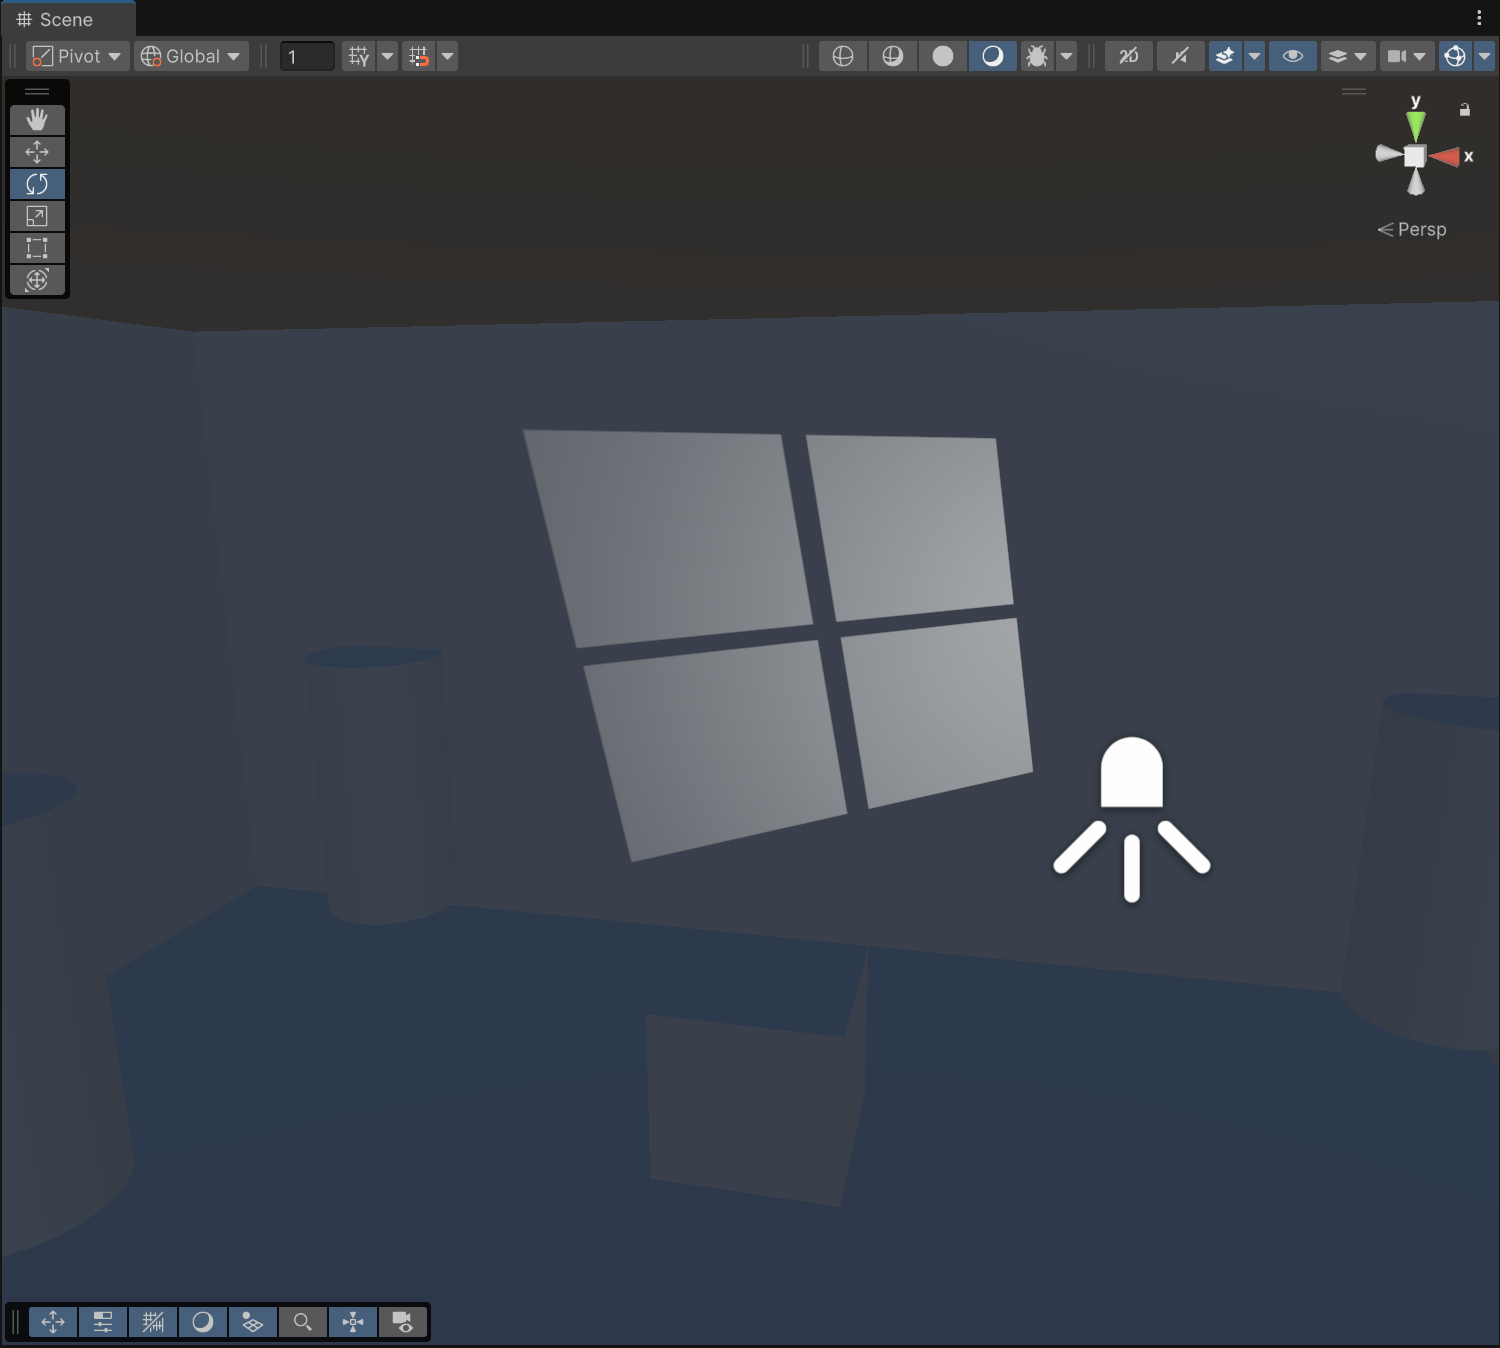
라이트에 쿠키 넣을 때 텍스쳐 설정
* Texture Type : Cookie
* Light Type : 사용할 빛 종류
* Alpha Is Transparency : 체크
* Wrap Mode : Spot Light 쓸 때만 Clamp
* 텍스쳐마다 가끔 Alpha Source를 바꾼다던가 Remove PSD Matte를 해야 한다던가 하는 경우도 있는듯
Draw Halo 체크하면 헤일로 켜진다
* Halo Texture의 Texture Type은 Sprite (2D and UI)
* Halo Texture는 Lighting 탭 > Environment > Halo Texture에서 설정

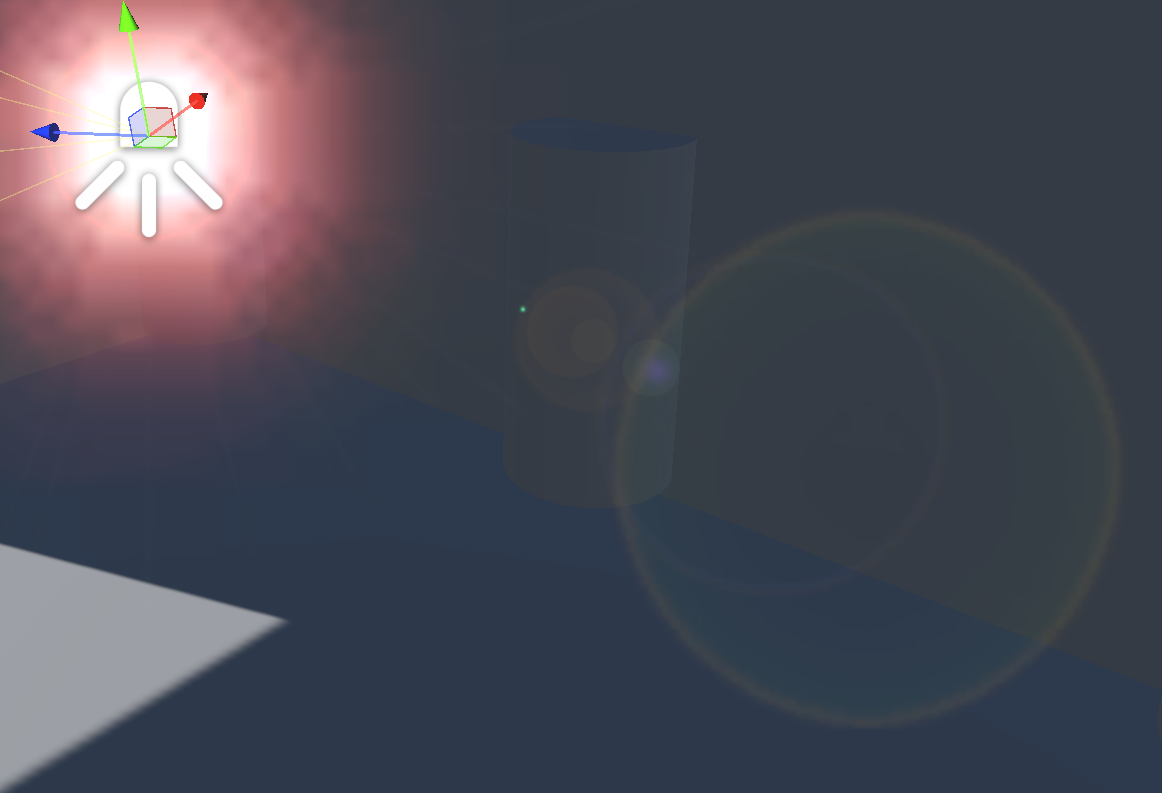
(뭐 때문인지 모르겠는데 오류 나서 이상하게 보임. flare도 lens flare 추가해야 보인다)
* Directional Light > Flare에 .flare 적용하면 스카이박스에 있는 태양에 flare 적용됨 (모든 광원에도 flare 적용 가능함)
* Main Camera에 Flare Layer 컴포넌트를 달아야 게임 뷰에서 flare 보인다
* 광원에 Lens Flare 컴포넌트 추가하면 flare 사라지는 속도나 색깔, 세기 등 조절 가능 (원래 있는 flare는 삭제할 것)
* flare는 멀어지면 커지고 가까이 가면 작아진다
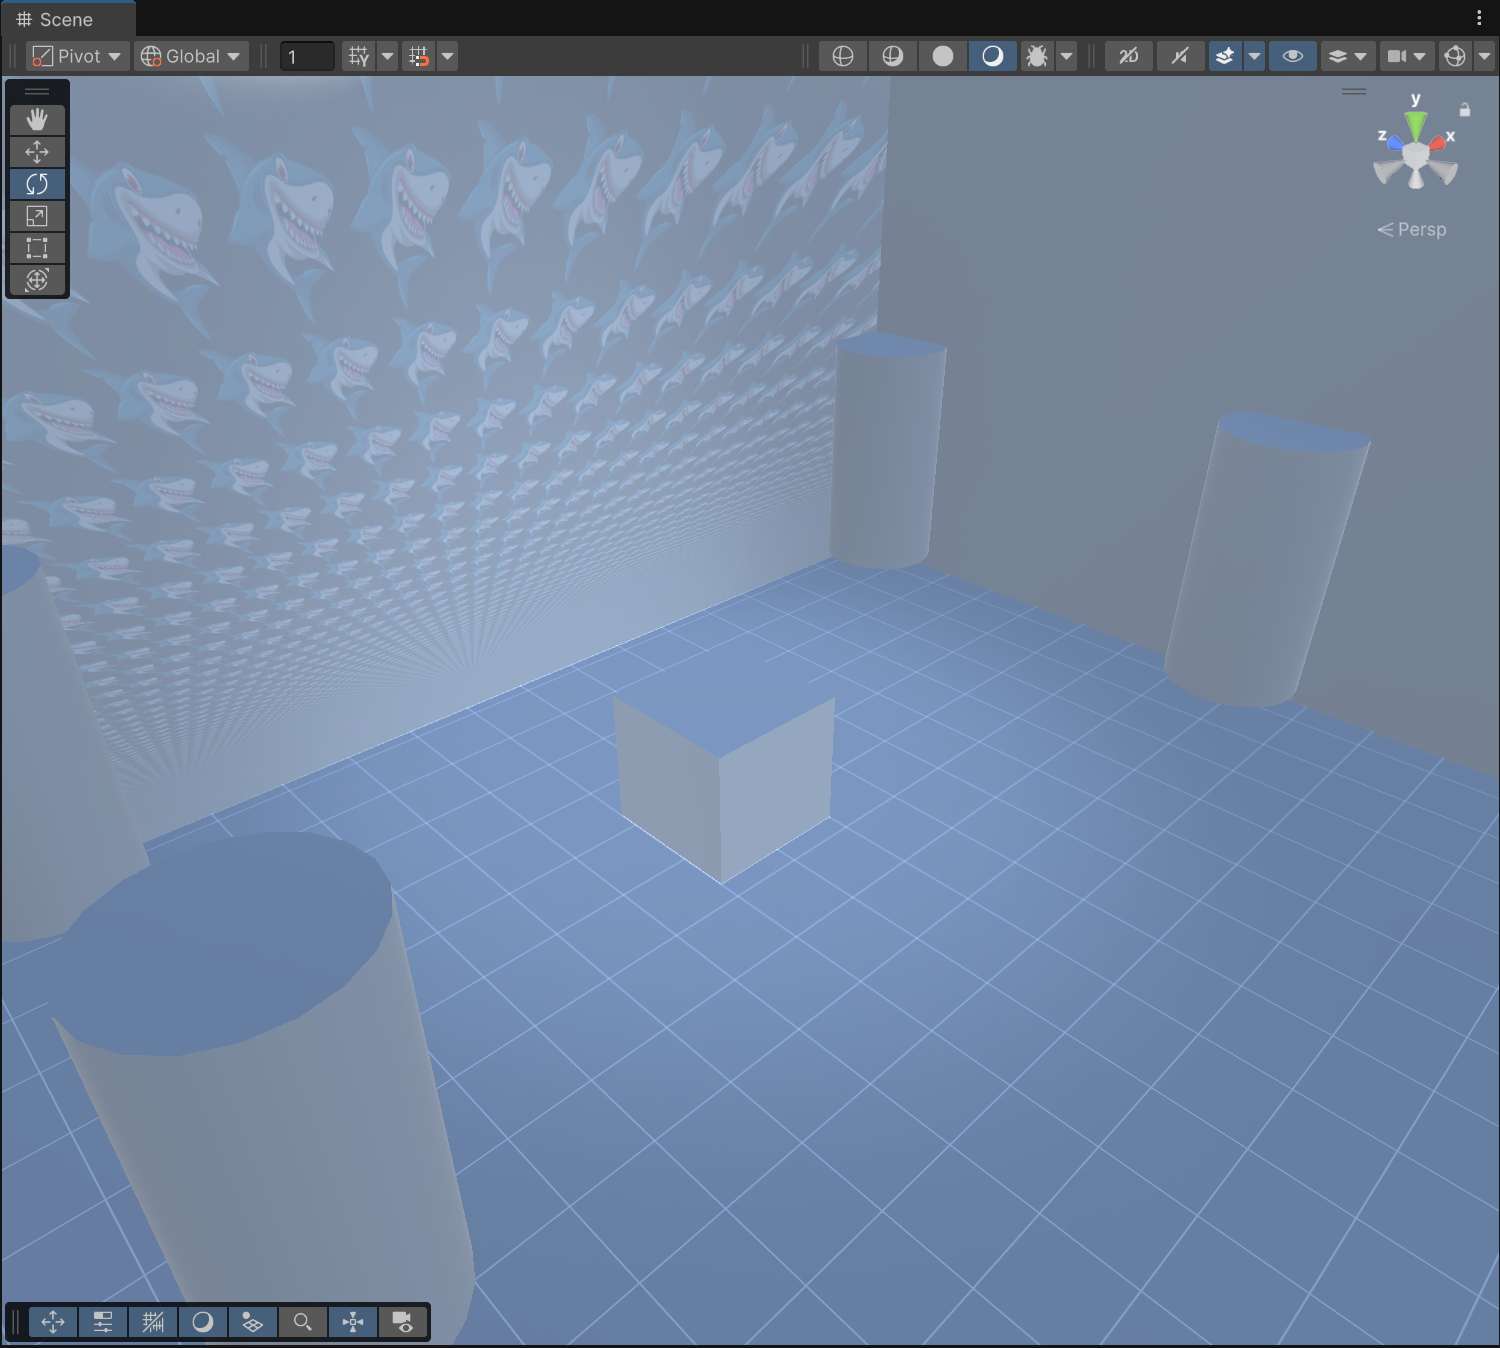
projector : light 사용 안 하고 연산 없이 효율적으로 light 시뮬레이트
* projector 머테리얼 셰이더를 Projector > Light로 바꾸면 빛 효과, Multiply로 바꾸면 그림자 효과. Cookie 텍스쳐도 넣어야 함
* projector 컴포넌트를 달고 머테리얼 설정해주면 됨
* 텍스쳐 wrap 모드가 repeat냐 clamp냐에 따라 텍스쳐 반복될지 하나만 뿌릴지 결정
* 실제로 빛을 뿌리는 건 아니기 때문에 어두워지면 안 보인다
* Field Of View는 Orthographic 키면 작동 안 함.
라이팅 베이크
* 씬 저장
* Lighting tab > Scene > Lighting Settings Asset > New
* Light > Indirect Multiplier : 반사되는 정도 조절
* Edit > Preference > GI Cache (Global Illumination) : 캐시 최대 저장 용량 조절, 캐시 삭제
* Lighting tab의 Realtime Lighting, Mixed Lighting으로 각 라이팅을 골랐을 때의 설정
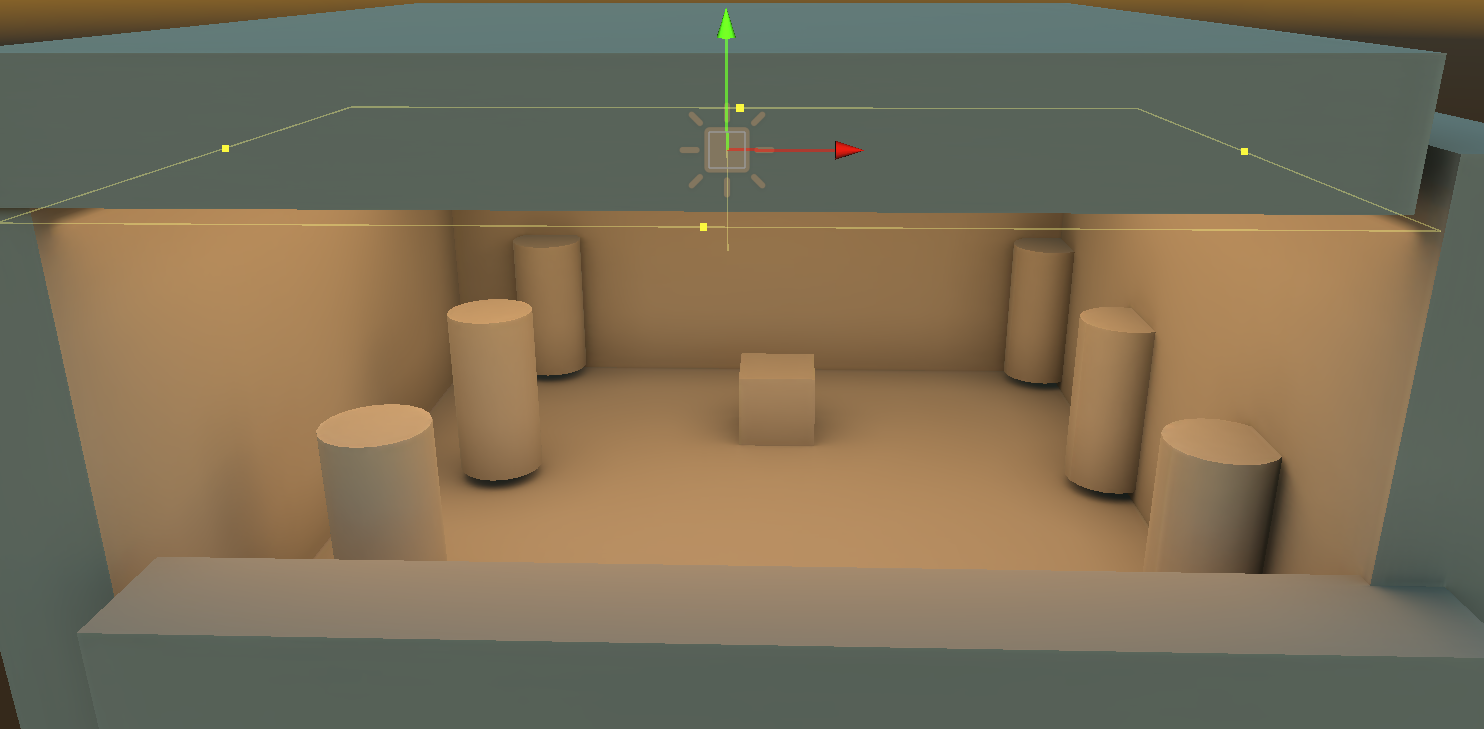
* static object들을 설정해줘야 lightmap이 생성된다.
* static 옆 화살표 클릭하면 static으로 반영될 것들 설정 가능
Mixed Lighting > Lighting Mode
* Baked Indirect : 퀄리티 적당히 좋은거. 반사광은 Lightmap에 bake해두고, Mixed Light가 실시간 그림자도 드리운다.
* Subrtactive : 퀄리티 제일 안 좋은거. Main Directional Light 하나 빼고 빛이랑 그림자 다 bake해버림.
* Shadowmask : 퀄리티 제일 좋은거. Baked Indirect랑 똑같은데 그림자 퀄리티가 더 좋아짐.
Lightmapping Settings
* Lightmapper : CPU는 느리고 정확, GPU는 훨씬 빠르고 살짝 부정확
* Samples : 높이면 퀄 좋아지고 bake 느려짐.
* Max Bounces : 반사 몇 번 계산할건지
* Lightmap resolution : 얼마나 세밀하게 bake할건지.
* Lightmap Parameters : 얼마나 퀄리티 좋게 bake할건지.
* Ambient Occlusion : AO bake할건지
* Directional Mode : 직선광인지 환경광인지
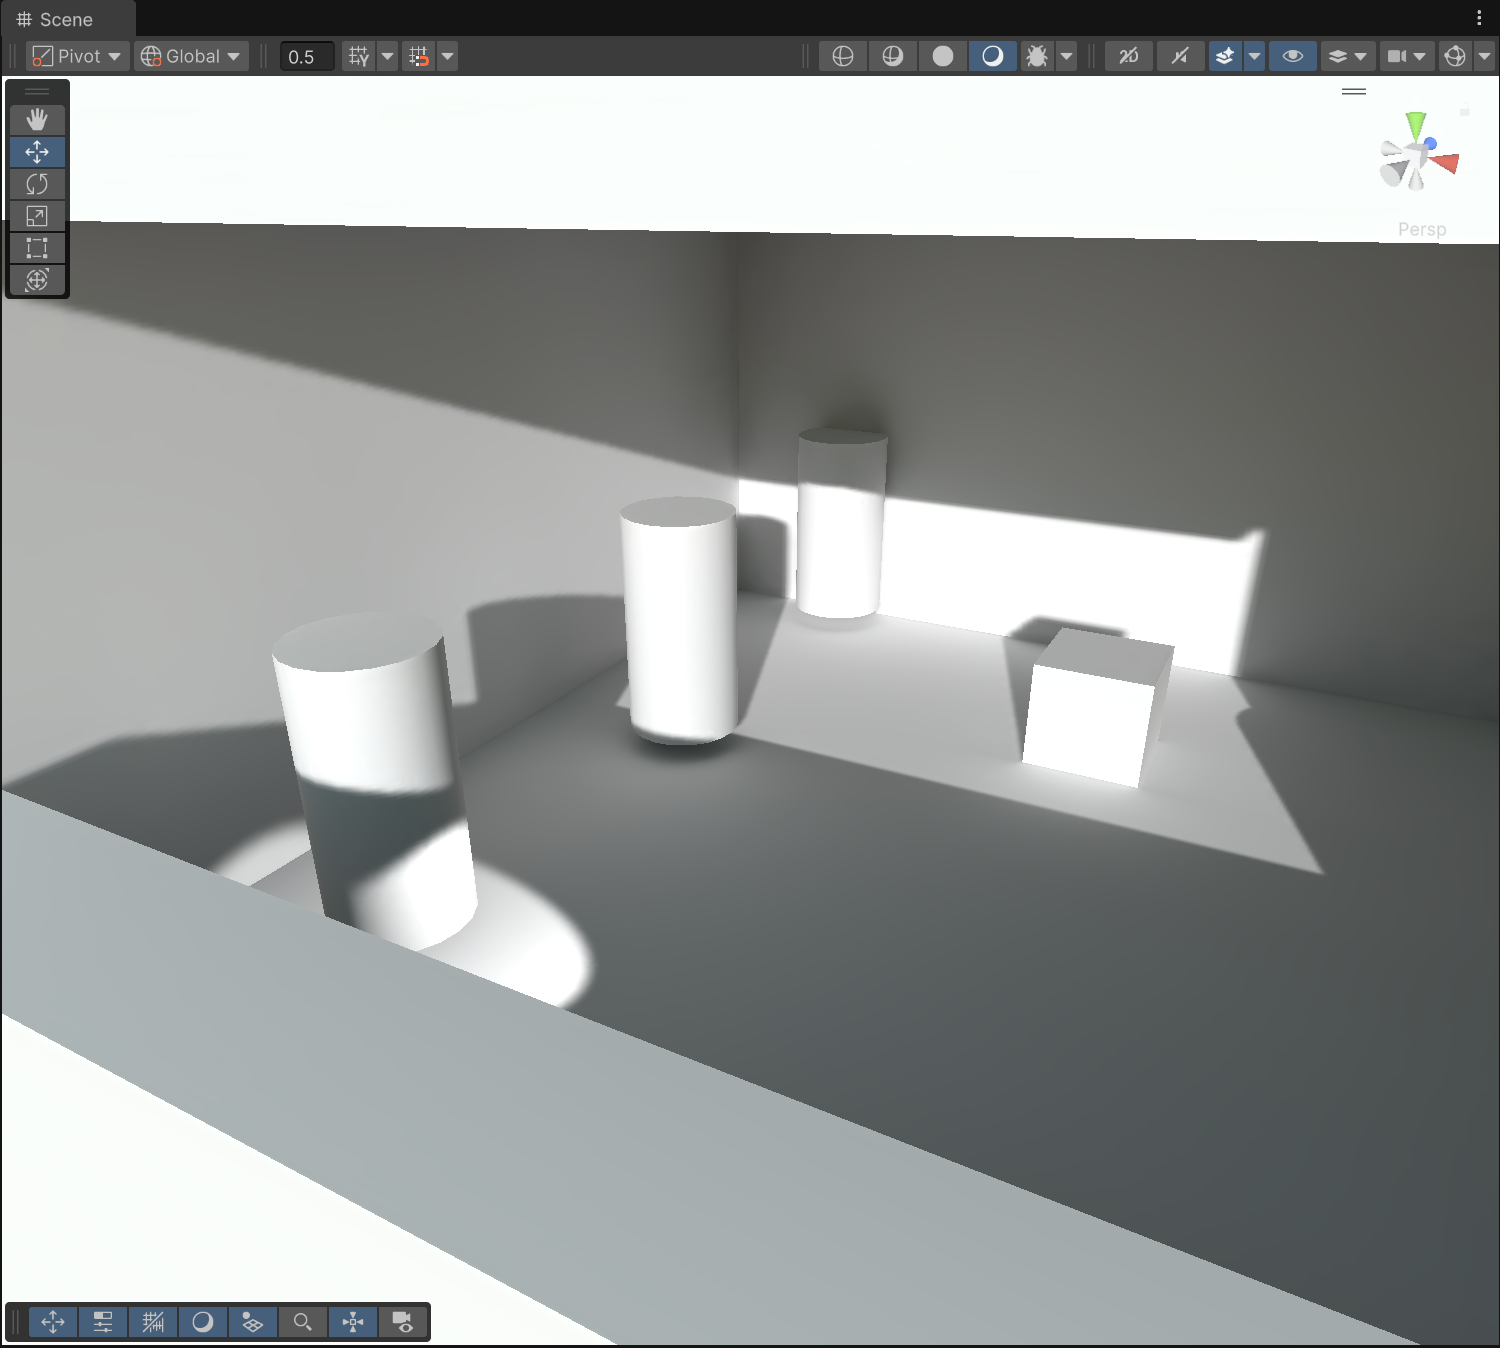
Area light
* Gizmo 켜서 영역 조절 가능
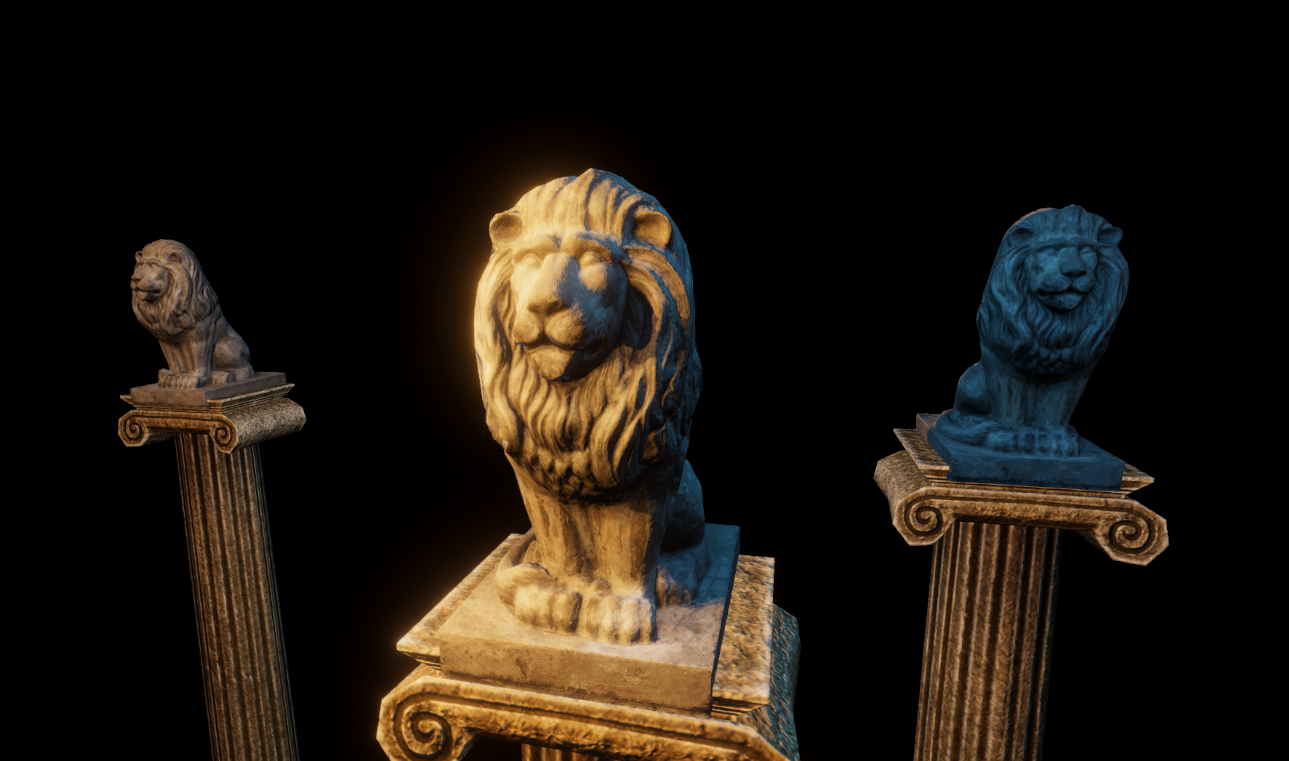
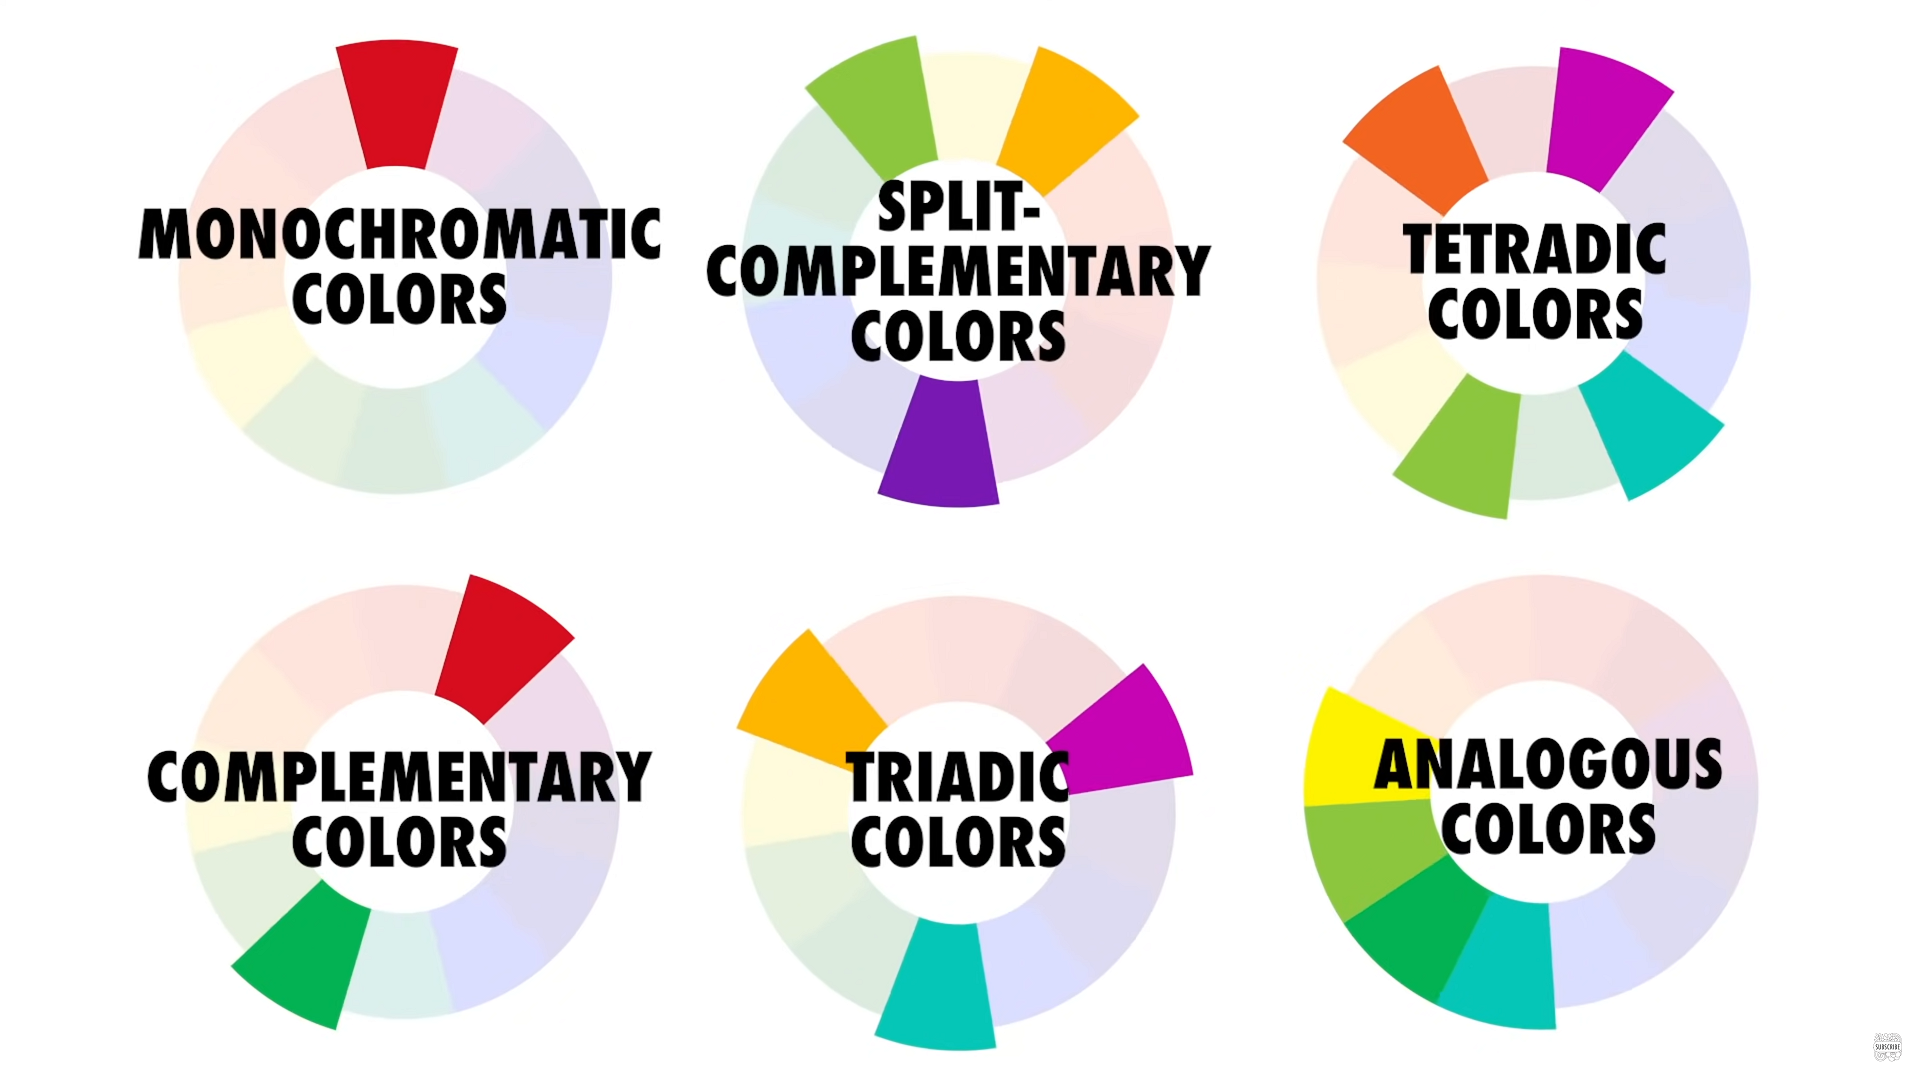
* Monochromatic colors : hue는 같은데 빛 세기만 다른 색들
* Complementary colors : color wheel에서 반대편에 있는 색깔 두 가지 사용. 가장 많이 쓰인다. 대비를 강하게 주면 카툰풍.
* 나머지도 색 개수에 맞게 방향별 조명 추가
* key light : 씬 전체를 밝히는 가장 강한 빛
* back light : 뒤쪽에 조명을 추가한 뒤 세기를 낮추고 사각형 영역에서 saturation을 낮춤
* fill light : 세기를 더 낮추고 saturation도 낮추고 범위를 늘려 그림자를 살짝 채워주는 빛. 주로 주광 반대편.
* 주광에 그림자 추가 후엔 다른 조명 밝기 올려도 됨
* 사람은 화면에서 가장 밝은 부분을 가장 먼저 본다.
* 유니티 6에서도 Built-in에선 post-processing 따로 설치 (확대하면 Anti-aliasing 적용되는지 보임)
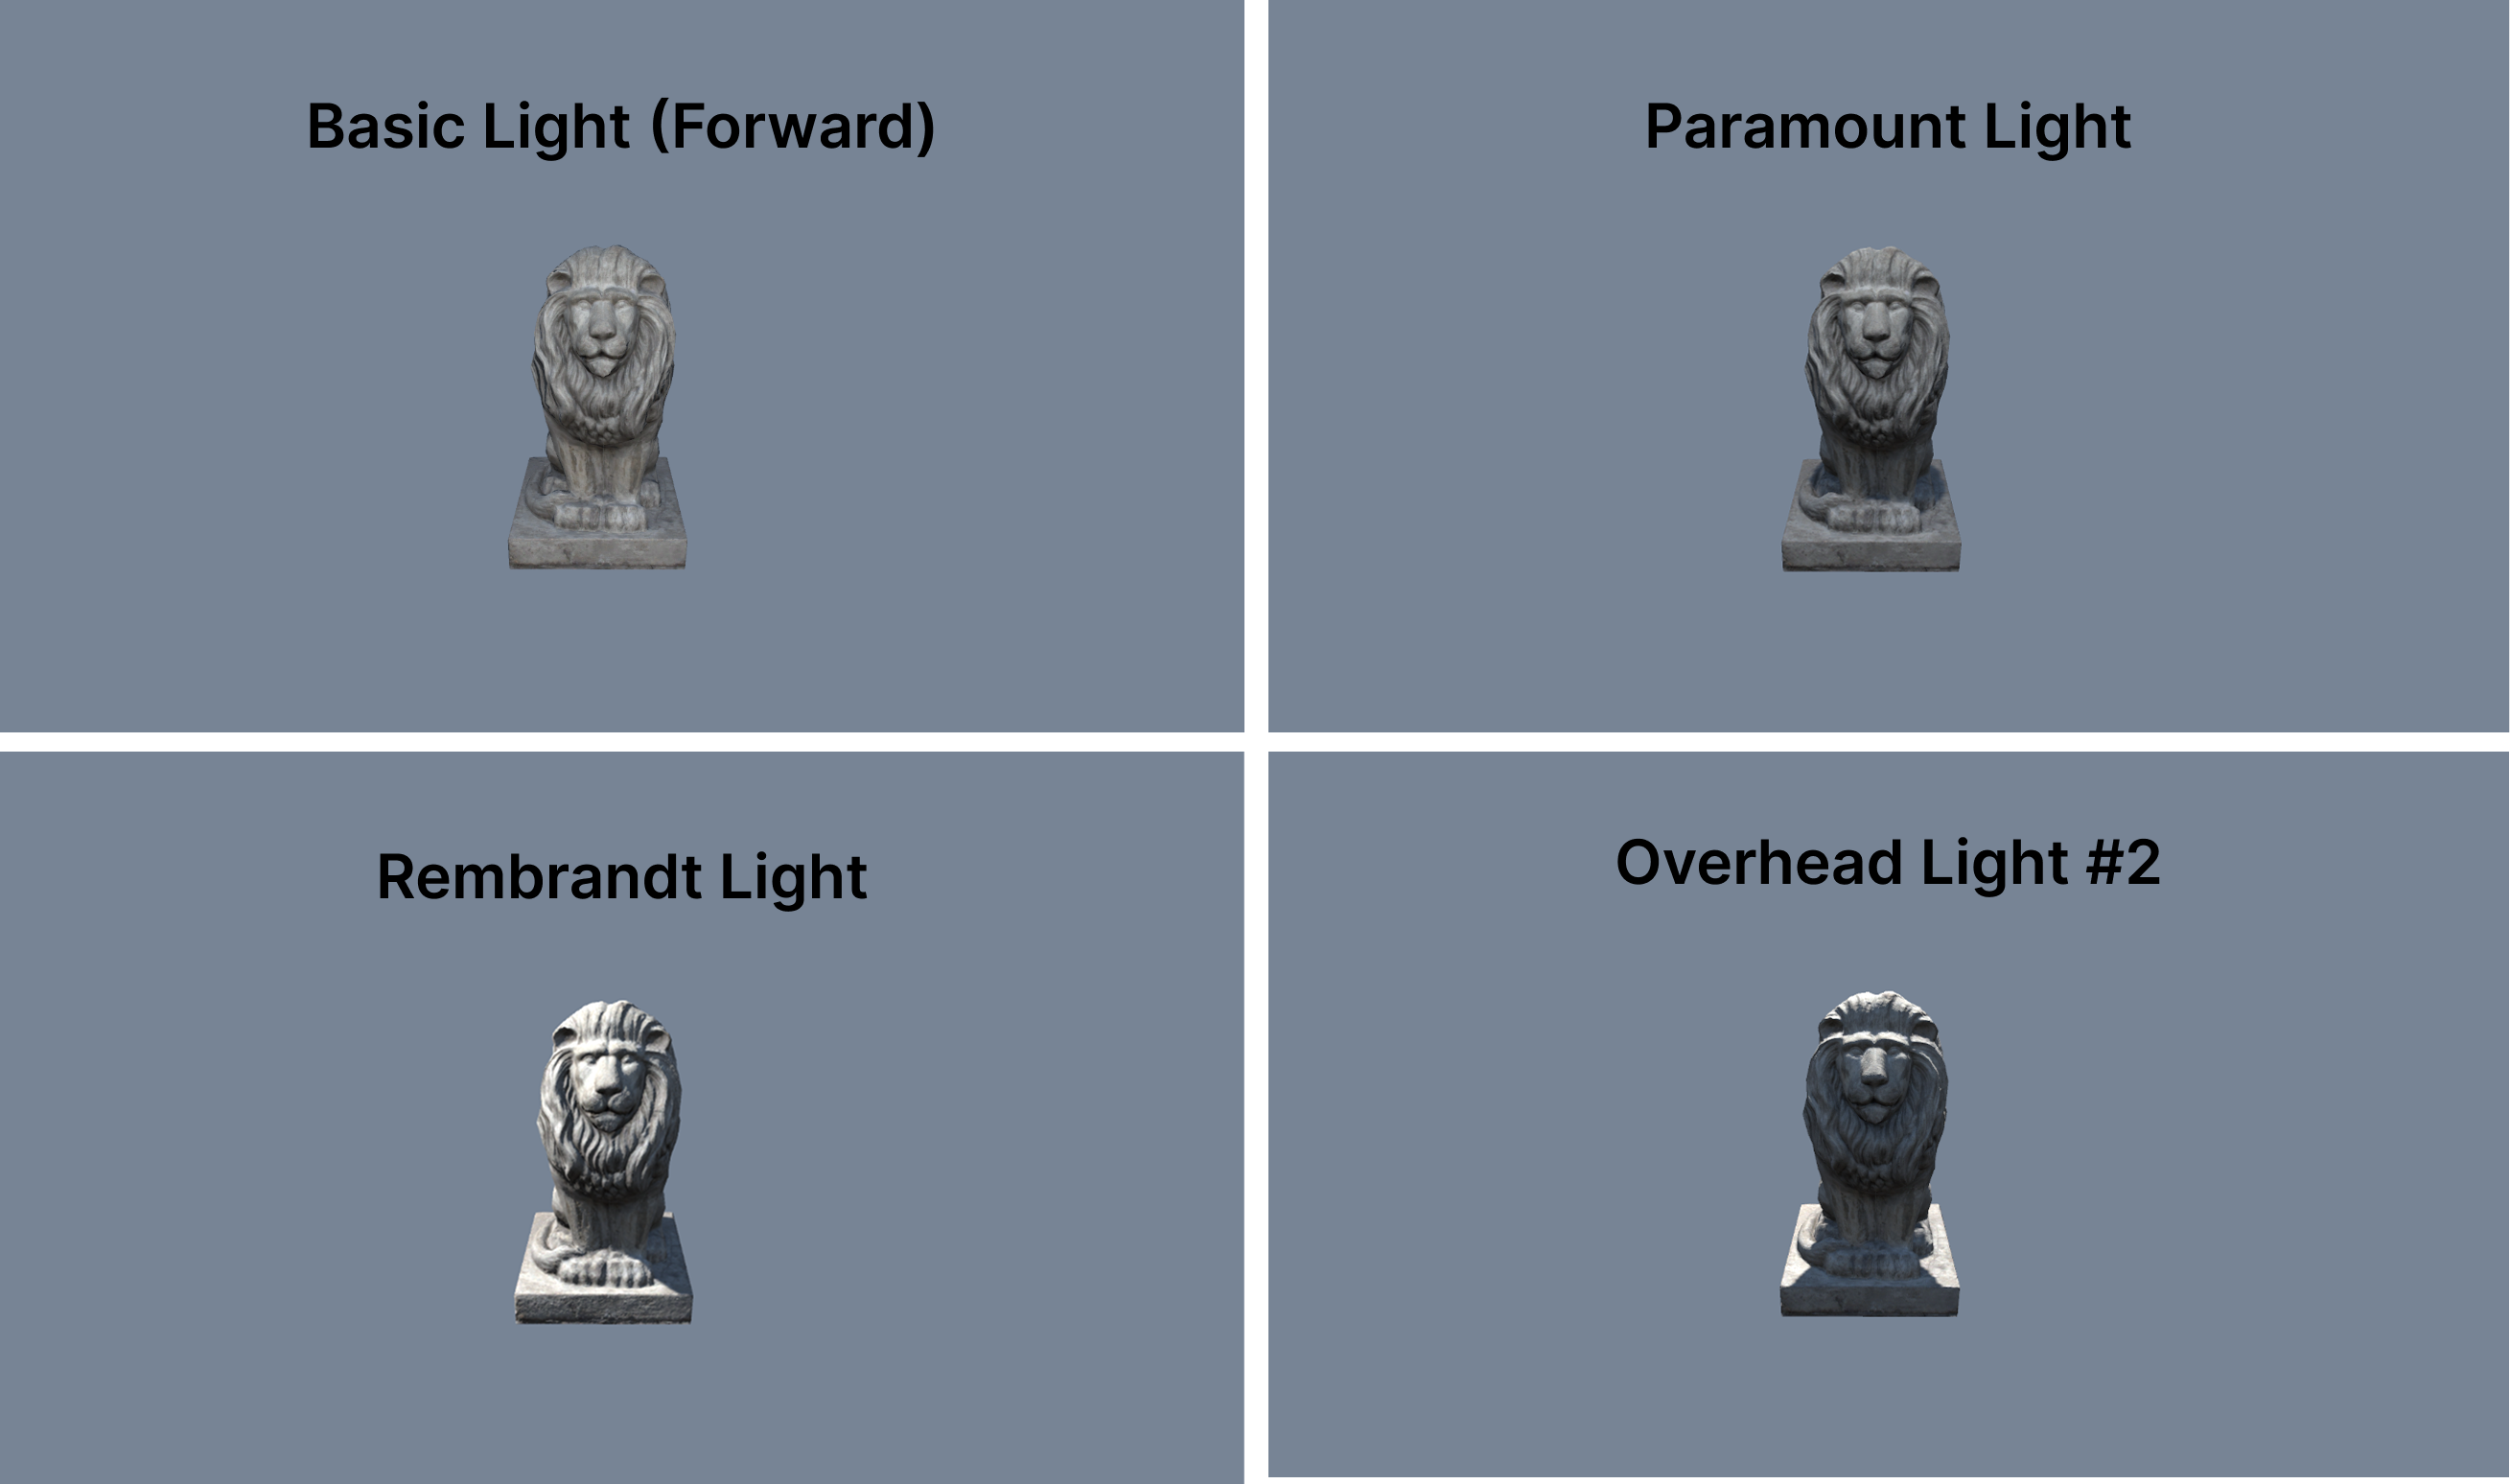
* 카메라와 같은 방향 보는 light 하나 두는게 가장 기본적인 빛 세팅. 사진관이나 유튜버들이 쓰는 조명.
* Overhead Light (Paramount Light) : 머리 대각선 위에 비스듬히 조명
* Rembrandt Light : 옆쪽 대각선 위족에서 조명. rotation과 Intensity를 조정하여 그림자 조절 가능.
* Overhead Light : 뒤통수 위편
* low angle light : 정면 아래
* rim light : 뒤통수 옆쪽 강한 하이라이트
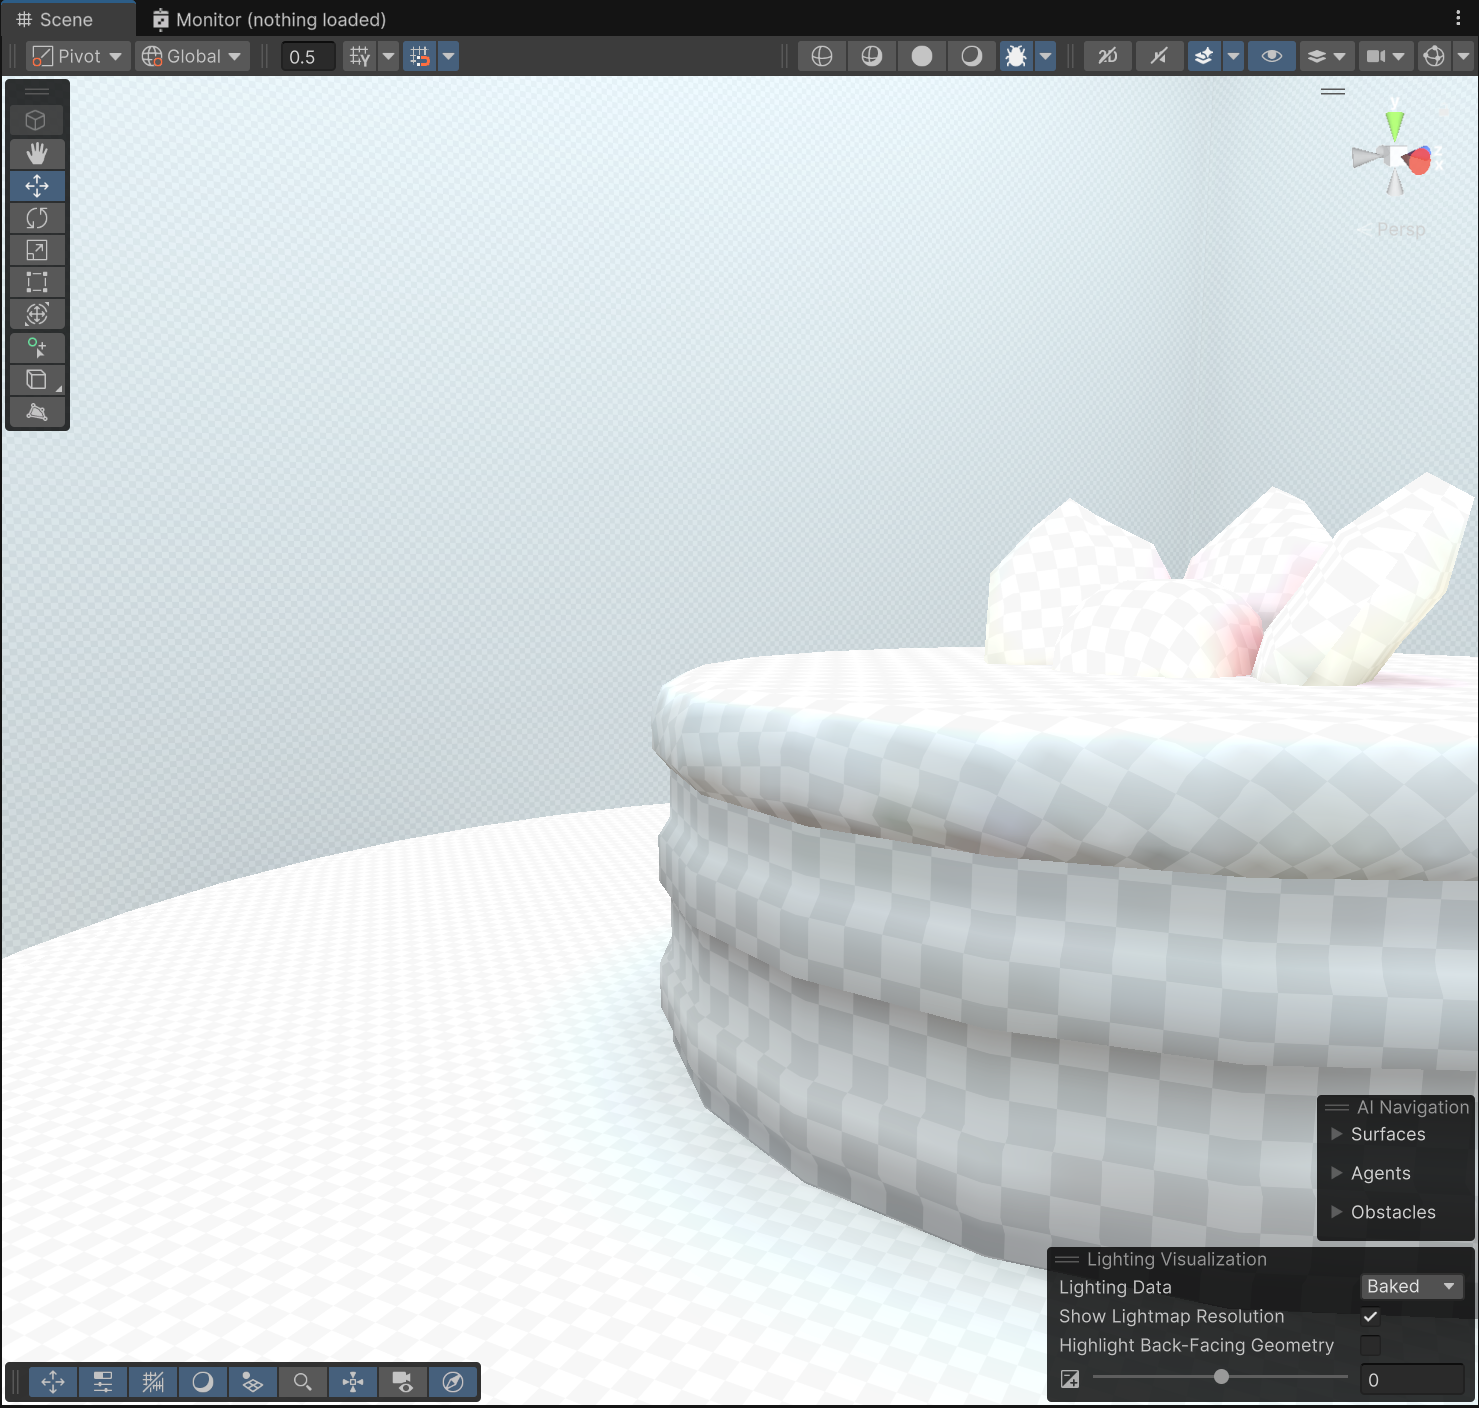
우측 상단 디버그 버튼으로 baked lightmap을 봐서\
resolution이 어색한 부분 있으면\
해당 오브젝트의 mesh renderer에서 scale in lightmap 수정
중요하지 않은 물체들은 scale in lightmap 낮추기\
자연스럽게 하려면 주변 체커의 밀도와 비슷해지도록 scale in lightmap 높이기
* Reflection Probe 영역 조절할 때 바닥은 포함하지만 벽은 빼놓는다. volume으로 인해 밝아지는 걸 막기 위함인듯.
* real time light 보이는 개수 조절하려면 Project Settings > Quality > Pixel Light Cound 늘리기
* camera clipping plane 때문에 조명이 켜졌다 꺼졌다 하는 이슈도 생기는듯
* 거리에 따라 Project Settings > Quality > Shadow Cascades의 설정에 의해 부자연스럽게 보이는 경우도 있다. path의 간격을 조절해주면 해결됨
* 조명 하나만 쓰는게 아니라 여러 개, 여러 색깔 써서 맵을 밝힌다.
---
# Agent Instructions: Querying This Documentation
If you need additional information that is not directly available in this page, you can query the documentation dynamically by asking a question.
Perform an HTTP GET request on the current page URL with the `ask` query parameter:
```
GET https://lazyartisan.gitbook.io/note/main-page/courses/lighting-in-unity.md?ask=
```
The question should be specific, self-contained, and written in natural language.
The response will contain a direct answer to the question and relevant excerpts and sources from the documentation.
Use this mechanism when the answer is not explicitly present in the current page, you need clarification or additional context, or you want to retrieve related documentation sections.